Table of Contents
This guide to making a transparent background will explain how to make an image or logo background transparent using Canva and Adobe Photoshop.
What Is a Transparent PNG Background?
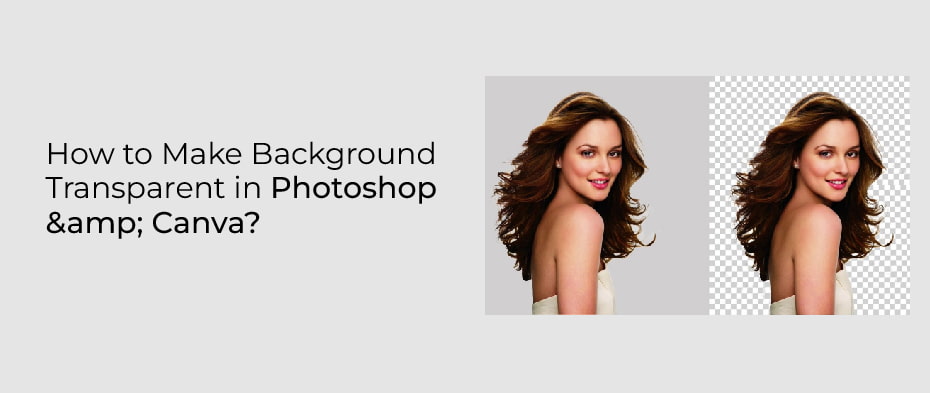
You can have no background color in a PNG image file type. There are a certain number of pixels in most images, and all of those pixels have color, even if the color is white. Transparent backgrounds have no pixels in the background, allowing what’s behind to show through.
On the screenshot, you can see that the header with the “Emergency Chapter Housing Campaign” logo uses an image with a transparent background since the blue behind it shows through.
The white box that surrounds the logo is the background. It looks unprofessional and messy and can clash with the background color of websites, brochures, or other designs.
You’ll want to make sure that your logo looks good on any page of your website, whether it’s for your freelance work, small business, or nonprofit organization.
Unless you want to change the colors on your site, you should create a transparent PNG that integrates seamlessly with your design.
Make Your Background Transparent Using Canva
Using Canva is free, and you can use it in your browser. You need to create an account with Canva. This will allow you to save your designs and come back to them later.
Transparent background removal is only available in their Pro plan, which costs $12.99/month. It comes with a 30-day free trial, so you can get rid of as many backgrounds as you want in a month for free!
UPDATED: Up to 5 users are included in the updated pricing plan!
Start by creating a design
You can choose the size you want to create when you click on the “create a design” button. You can use any dimension, but I recommend looking at the dimensions of your logo.
Upload image
- Simply drag and drop your logo into the left-hand panel, and it will begin uploading. The progress will appear in the “Uploads” tab.
- Once the file has been uploaded, click on it to add it to your design.
- Adjust the size as needed to fit the space.
Note: I added a colored background so I could see when it disappeared.
Remove background image
Select the image you’ve added to your design. A number of menus will appear, including “Effects”. Choose effects. The first option will be “Background Remover”.
Tip: You can add a colored background to double-check that it worked, but remove it before you save the image by clicking the background and pressing delete.
Download the image
Select download in the upper-righthand corner. You’ll see this menu:
Check that your file type is PNG, and that you have checked the “transparent background” box. Then click download!
Using Adobe Photoshop, create a transparent background
You must first make the background transparent if your logo has a colored background. You can then convert the file format into PNG, which is the format for transferring images over the internet. Here’s how you can do it in Adobe Photoshop.
Open The File Of Your Logo
Add A Transparent Layer
- From the menu, select “Layer” > “New Layer” (or click on the square icon in the layers window).
- The new layer should automatically be transparent.
- Drag this new layer below your image’s layer and select the content layer.
Make the Background Transparent
Select the area of the image you want to be transparent with the magic wand or lasso tool. Use a tolerance setting of 32, along with experimenting with different settings to get the result you want.
Hit the Delete button. The selected area will be removed, and the transparent background will appear.
You may need to repeat the selection and deletion process on any circles or shapes in your logo that are not connected (as you can see, I need to remove the background from the outside of my logo image as well as within the circle.
Save the logo as a transparent PNG
Click “File” -> “Save As”. Select “PNG (*.PNG) as the file format. Note that though a transparent background looks selected in Photoshop, it will actually be transparent in the final PNG file. You can now upload this logo to your website!
Tip: You may need to select “Mode” -> “RBG Color” to change your image’s color format to RBG, which supports transparency.

