Table of Contents
The Dark Mode was first introduced to Mac with OS X 10.10 Yosemite, and has become a staple in all subsequent macOS releases. When you use Dark Mode, your content stands out, while everything else, such as controls and other user interface elements, blends into the background, making it easier to stay focused. This makes your screen much easier to view in low light, especially since it makes your eyes feel much better. It can even extend your battery life a bit.
You don’t need a third-party tool or software to use Mac’s Dark Mode because it’s a standard feature. It supports not only Mac OS X and Apple’s own applications but also a wide range of third-party apps from other developers. This guide will show you how to enable it in various easy ways, as well as how to create a Dark Mode schedule that will automatically switch themes when necessary.
In this guide, you will learn how to use Dark Mode in macOS Big Sur – Apple’s most recent version of macOS – as well as in previous macOS versions.
The menu bar, Dock, other elements of Mac’s interface, built-in apps – including Messages and Safari – and supported third-party apps will all turn black once Dark Mode has been enabled. You should know, however, that this feature only affects the menu bar and Dock in macOS High Sierra or earlier. This is how you can use dark mode on Mac.
How to turn on Dark Mode on macOS Big Sur
In macOS Big Sur, there are several ways to quickly activate Dark Mode – and all of them are extremely simple. I’ll list them below.
Using System Preferences
Here’s how to activate Dark Mode in System Preferences:
- Go to System Preferences
- Then click General
- General
- General, then click Dark to activate Dark Mode instantly
Dark Mode can also be scheduled to automatically activate and deactivate using System Preferences. Select Auto rather than Dark. At sunset, Dark Mode will be enabled and disabled at sunrise respectively.
Using Siri
If you have a Mac that supports Dark Mode, you can enable it by using Siri.
The steps are as follows:
- Click the Siri button in the menu bar of your Mac (or the Siri button in the Touch Bar of your MacBook Pro)
- Use a command like “Turn on Dark Mode” or just “Dark Mode”.
Using Control Center
In addition to using System Preferences, you can use Control Center to enable Dark Mode by following these steps:
- In the menu bar, click Control Center
- Then click Display
- Then click Dark Mode

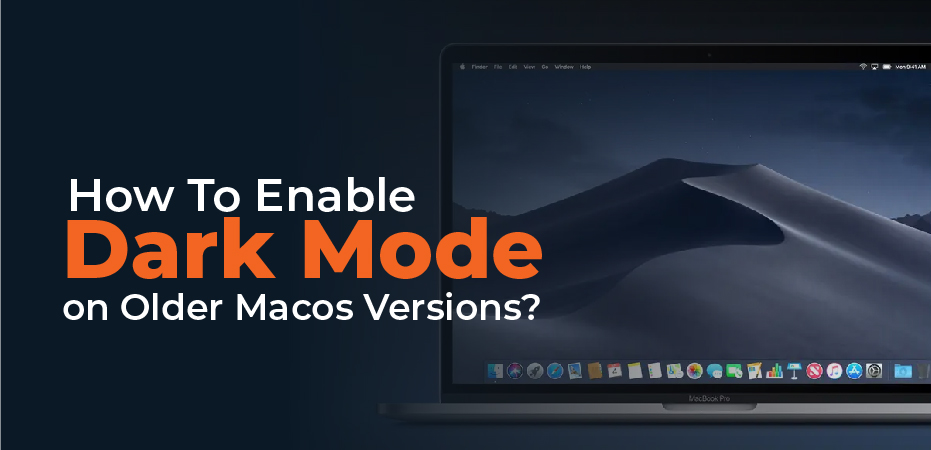
How To Enable Dark Mode on Older Macos Versions?
Older versions of macOS may not support all of the above methods. The Control Center method, for instance, only works in macOS Big Sur, which was the first to have a Control Center. It’s also worth noting that Dark Mode only affects the system menu bar and Dock in some older macOS releases – macOS High Sierra and earlier. The Dark Mode feature is automatically activated and deactivated at sunset and sunrise on macOS Catalina and later.
Mac night mode can be enabled in earlier macOS releases by following these steps:
OS X Yosemite to macOS High Sierra
- Go to System Preferences
- Then click General
- General
- General, then select Use dark menu bar and dock
MacOS Mojave
- Go to System Preferences
- Then click General
- General
- General, then click Dark under Appearance
MacOS Catalina
- Click System Preferences
- Then click General
- Then select Dark or Auto from Appearance

